
How the NewClick system works
NewClick is a hidden fixing system for composite facade cladding. The slats click onto horizontal aluminium rails with pre-mounted clips. No pre-drilling, no visible screws, no special tools.
Three components, one system
1. Aluminium rail system
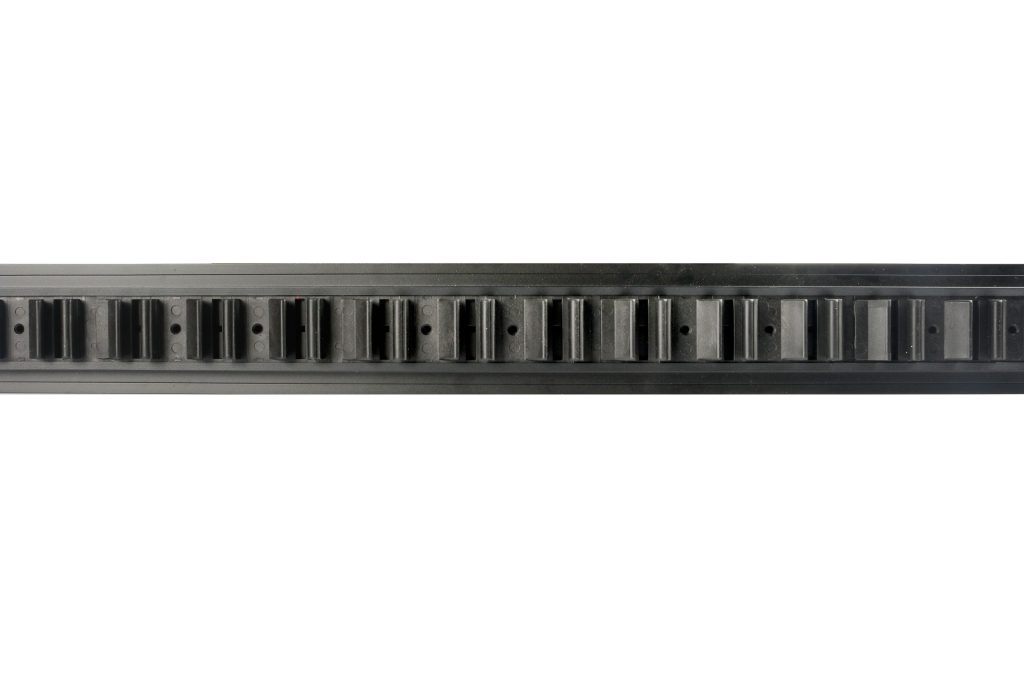
15 mm aluminium rails with plastic clips pre-mounted at fixed centres, screwed to the substructure. Horizontal for vertical slats, vertical for horizontal slats. The rail sets the spacing, not the slat.
2. Composite cladding
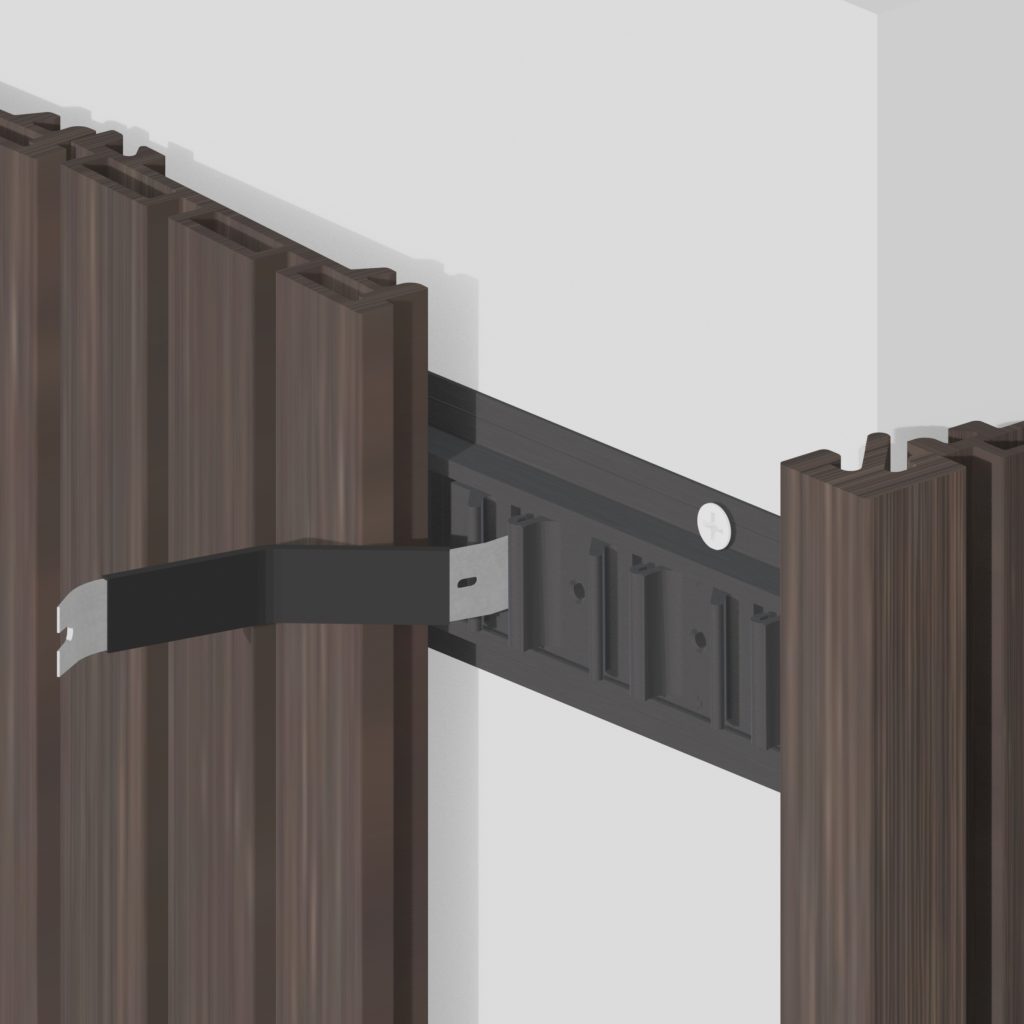
Co-extruded wood-plastic composite, 2900 mm long. Hook the knife edge behind the clip, lever it on and it clicks in one movement. Available as Rhombus, Barcode and Swedish Rebate.
3. Finishing profiles
Aluminium and composite start, end, corner and drainage profiles, with stainless steel stoppers, end clips and colour screws. See all finishing trims.
Installation in short
One installer, standard tools, from bottom to top. Pick a stage to see the steps. The full manual covers every detail that matters for the warranty.
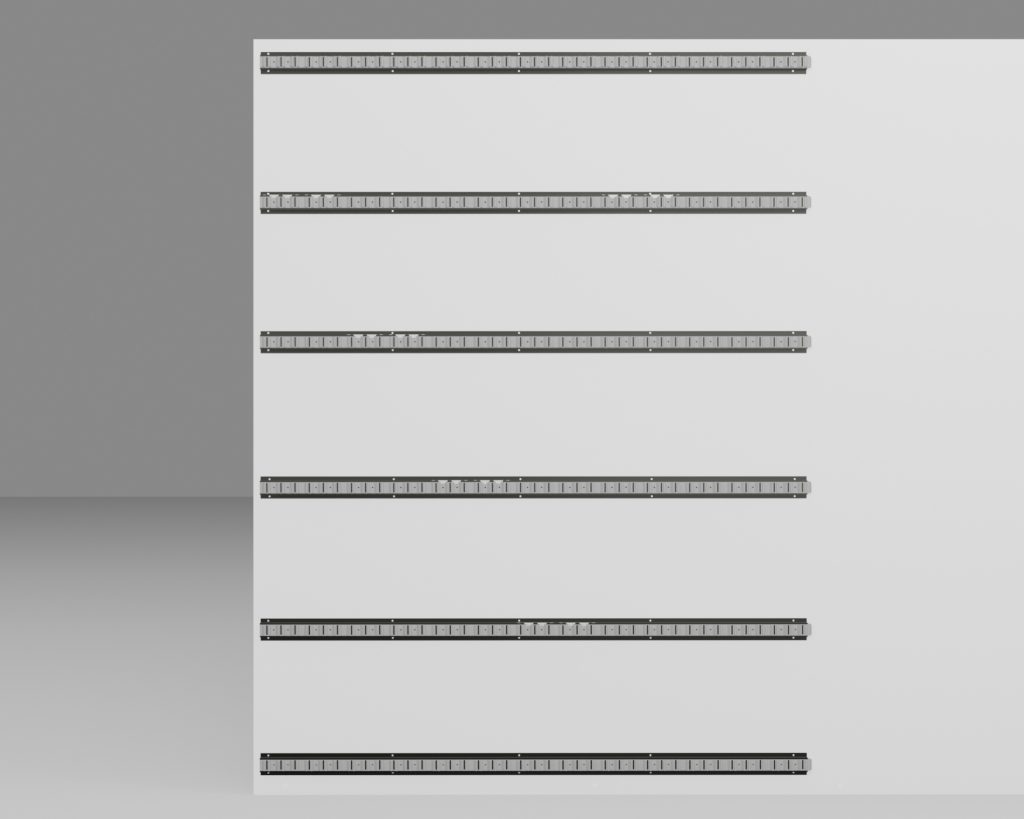
1Mount the rails
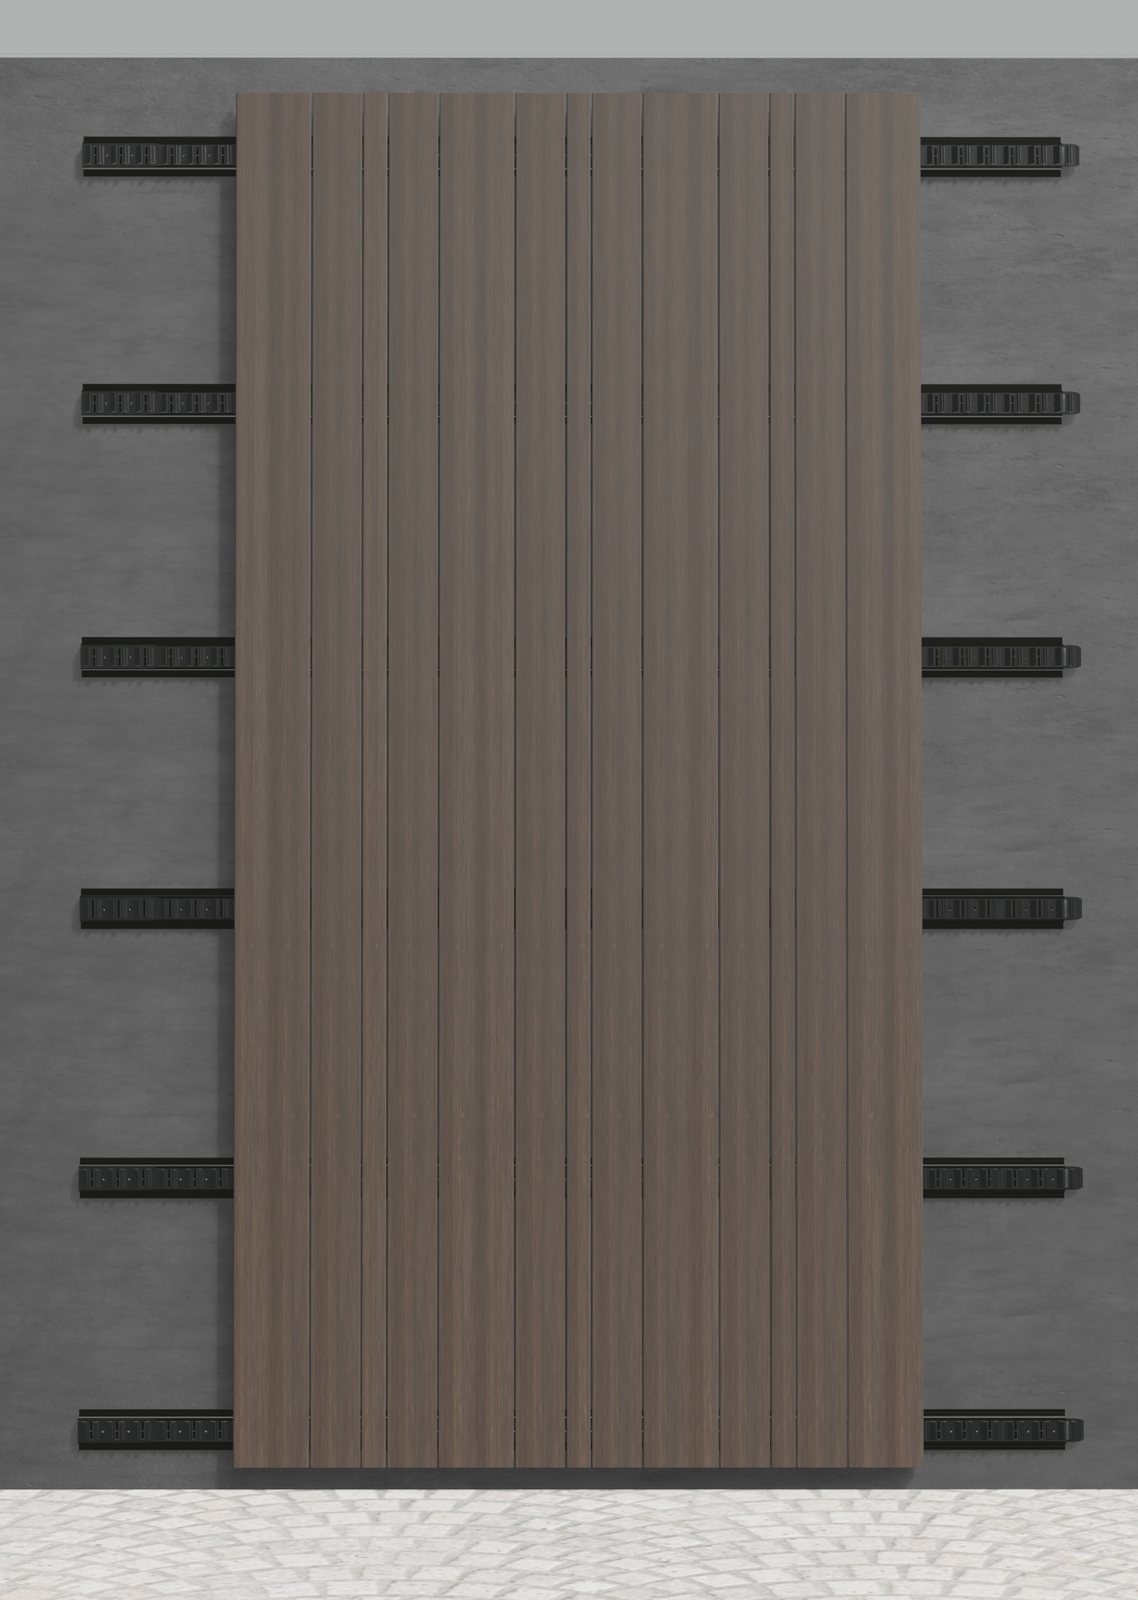
Level the rails with a laser or spirit level. Maximum centres 548 mm for a 2900 mm slat. Screw each rail directly to the wall, to timber frame or to battens, about every 35 cm. The rails double as ventilation battens.
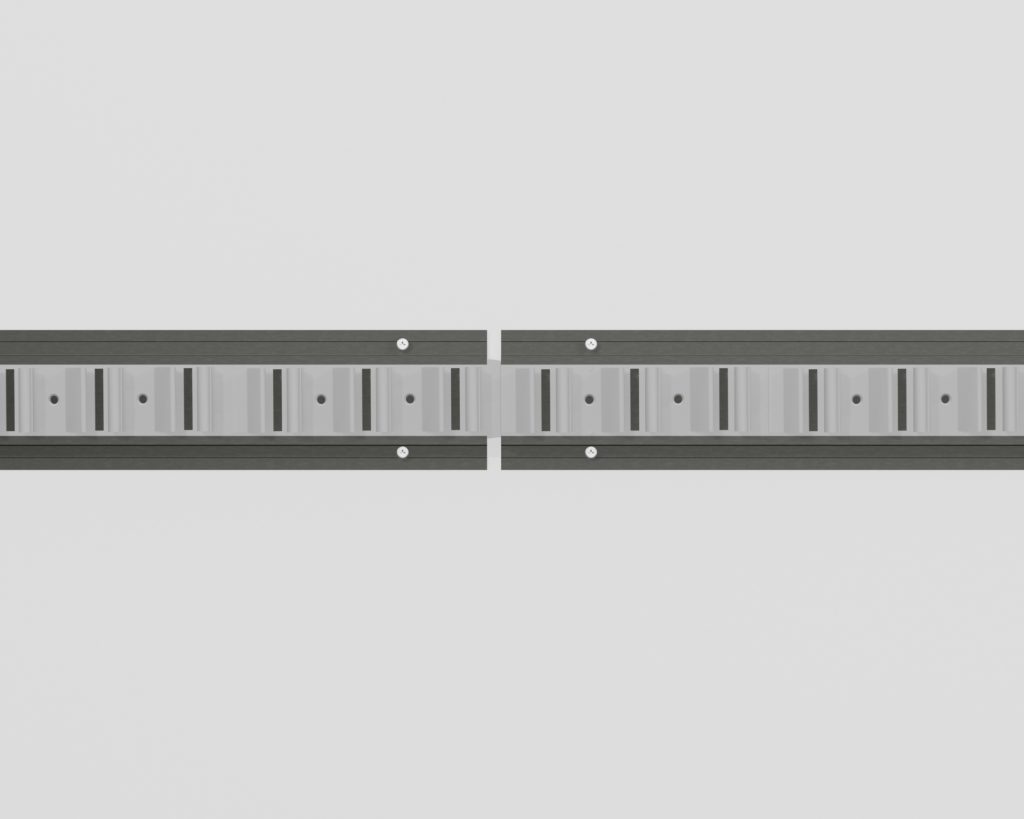
2Join the next rail
If the facade is longer than one rail, slide the clips of both rails into each other so the clip spacing continues. Do not let all rail joints fall in the same place.
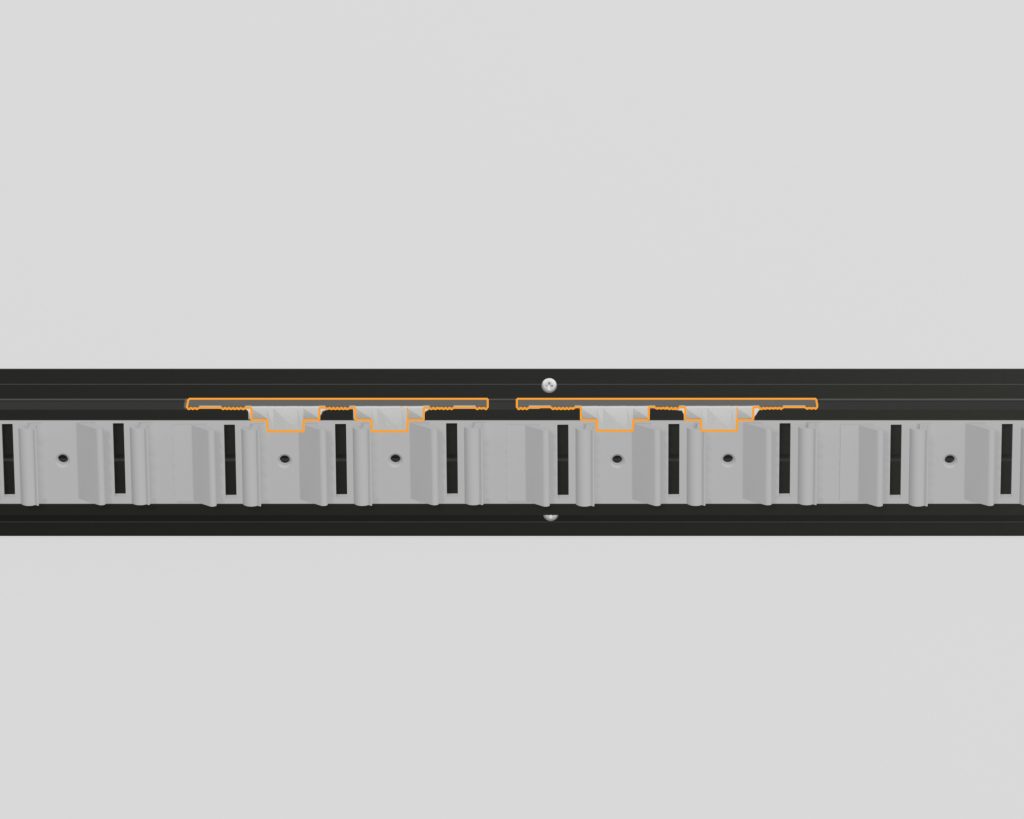
3Place the stopper first
Behind every slat goes one stainless steel stopper, spread alternately over the three middle rails. It bites the slat onto the clips so it cannot sink. Without stoppers the warranty lapses.
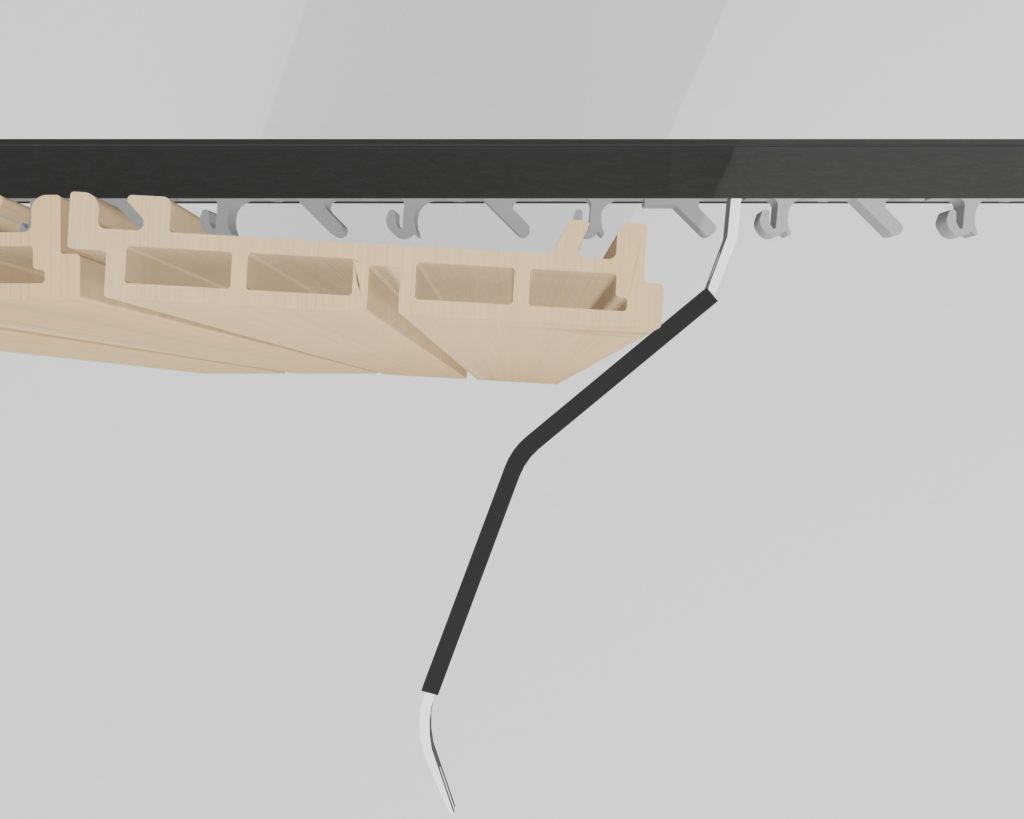
4Hook in the knife edge
Hold the slat at an angle and hook the knife edge behind the clips first. Check that the first row of clips is exactly vertical so the first slat fits.
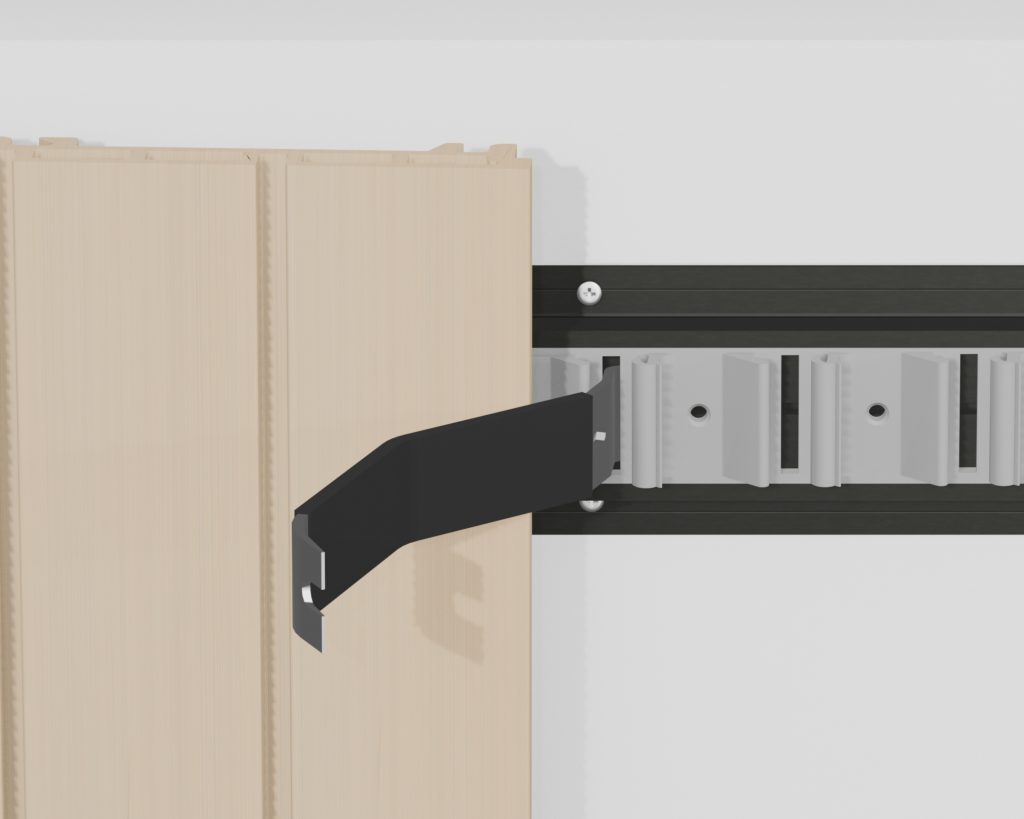
5Click it on with the tool
Hook the mounting tool into the cut-out of the plastic clip and lever the slat against the clips in one movement.
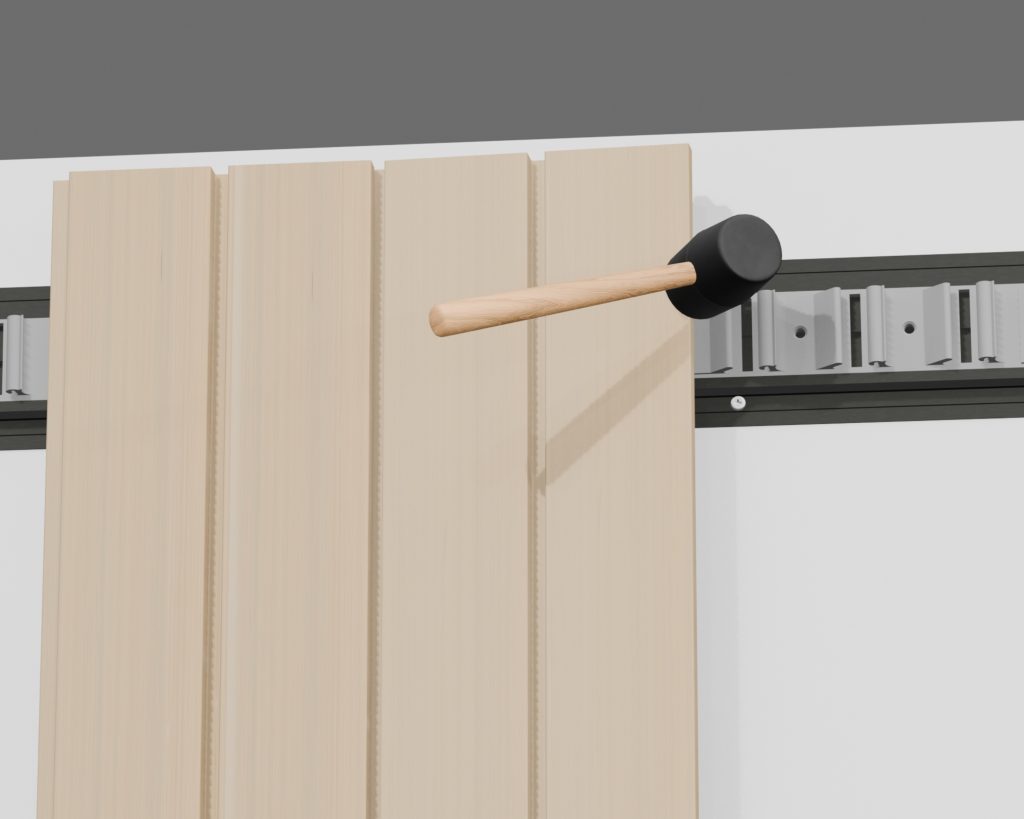
6Hard to reach? Use a mallet
If you cannot reach well with the tool, tap the slat on at an angle with a rubber mallet.
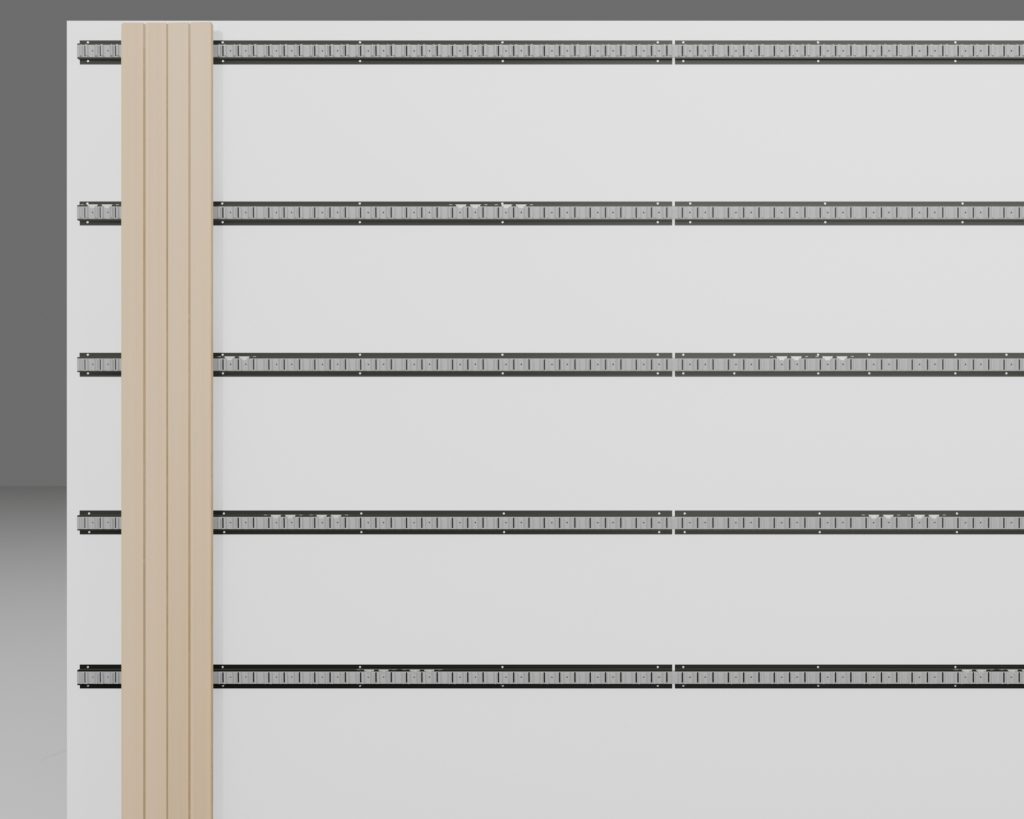
7Beam and helper screws
Rest the slats on a support beam of at least 30 mm for equal height and 30 to 50 mm ground clearance. Once the first two slats sit on both sides of the rails, remove the helper screws with a 2.5 mm hex key so the clips can move with expansion.
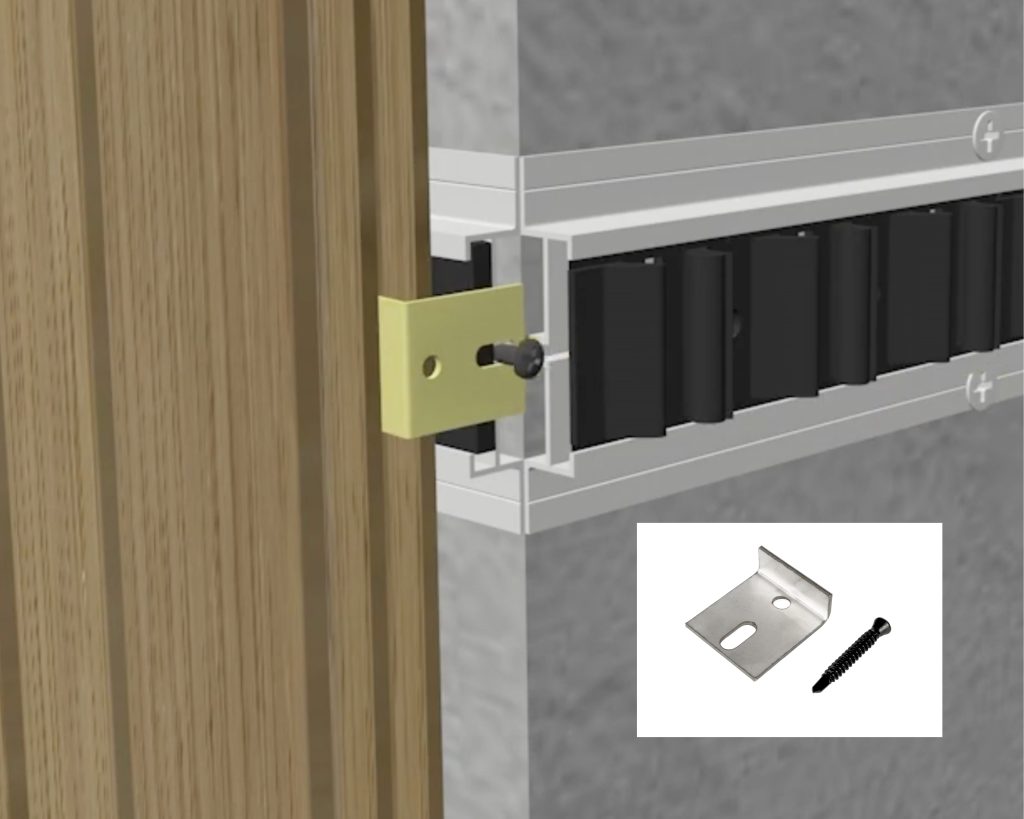
8Cut slats: end clip
The last slat usually needs cutting to width. Screw an end clip to the end of each rail and clamp the cut slat behind it. Always leave at least 3 mm for expansion.
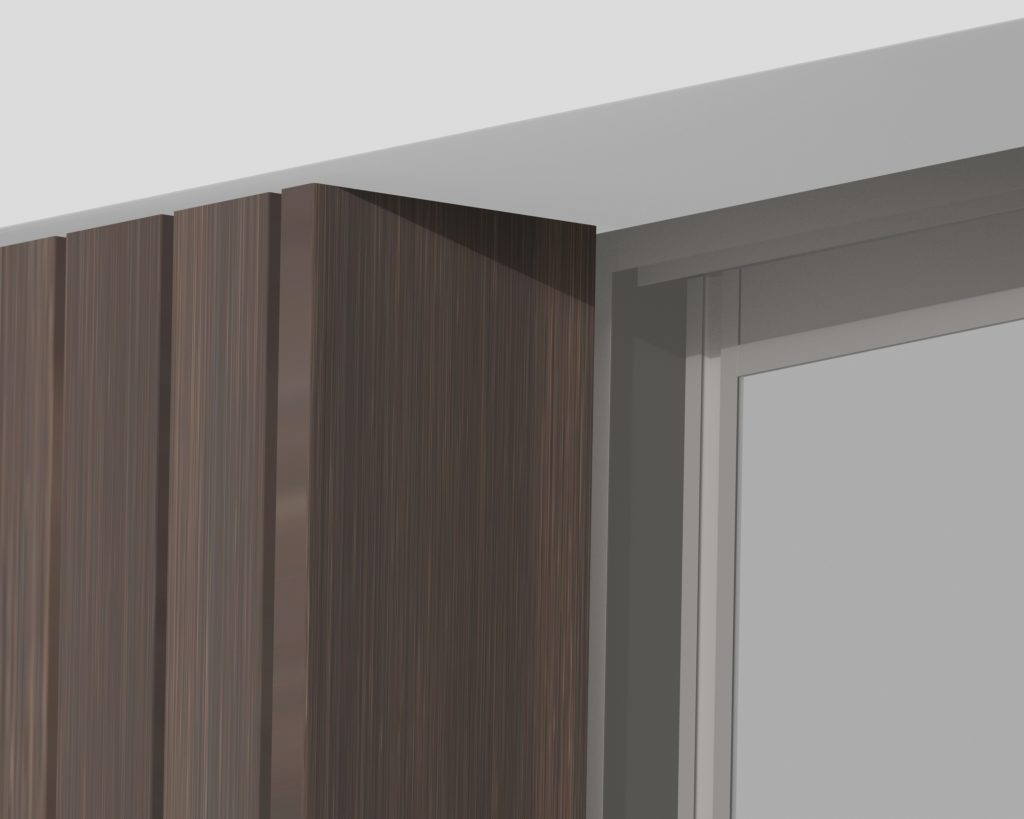
9Openings
Around windows and at the end of a facade, finish with an aluminium or composite finishing profile.
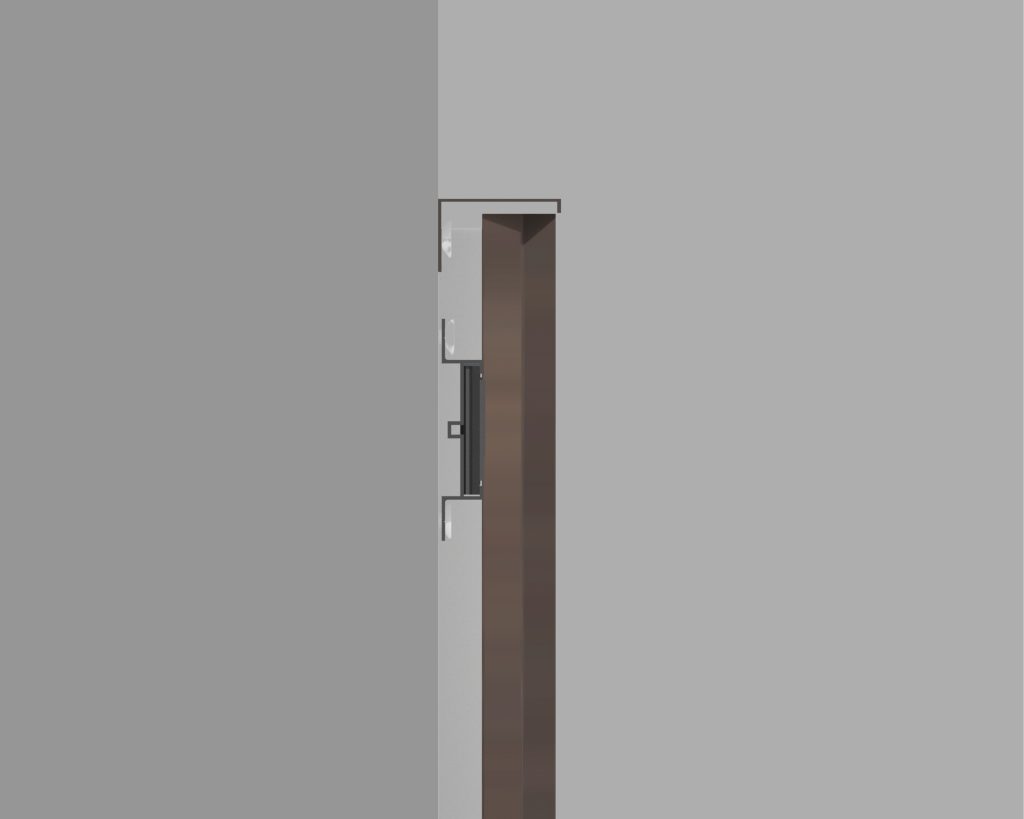
10Above an opening
Option 1: aluminium start, end and top profile covering the cut ends. Option 2: a composite finishing board in the reveal plus an aluminium drainage profile. Cut ends must never stay wet.
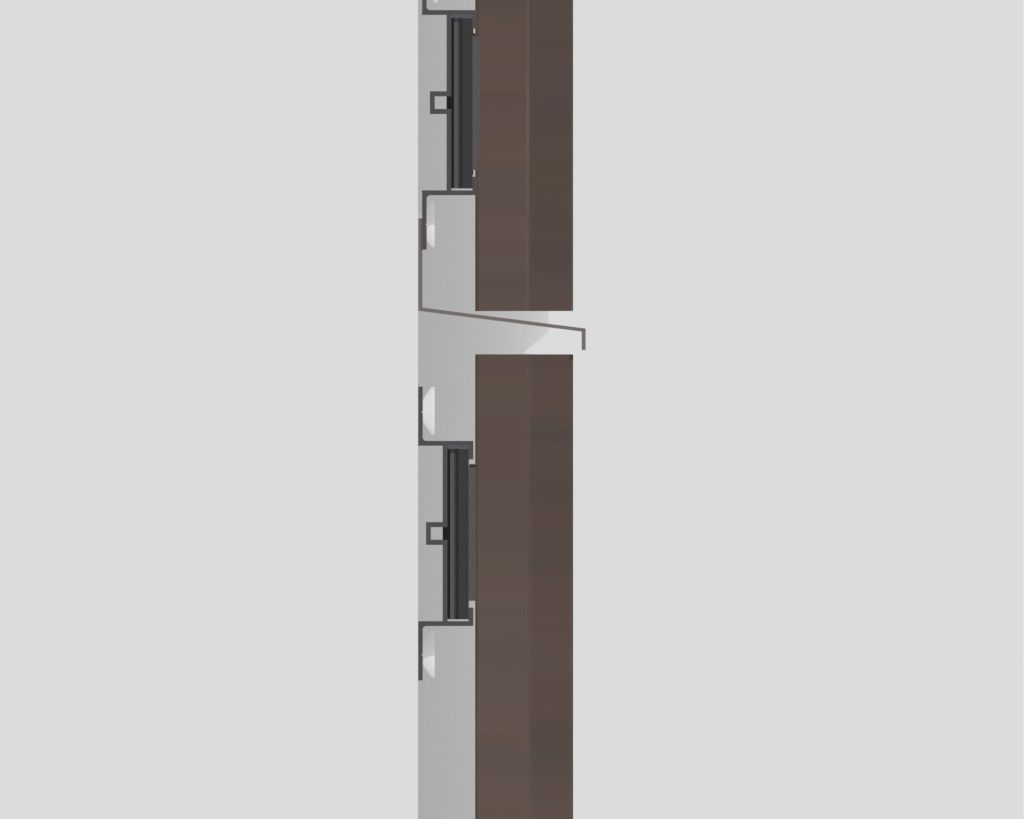
11Stacking slats
Higher than one slat length? Mount an aluminium joining profile on the seam. It covers the top of the lower slats and drains water away. Leave a small gap for expansion.
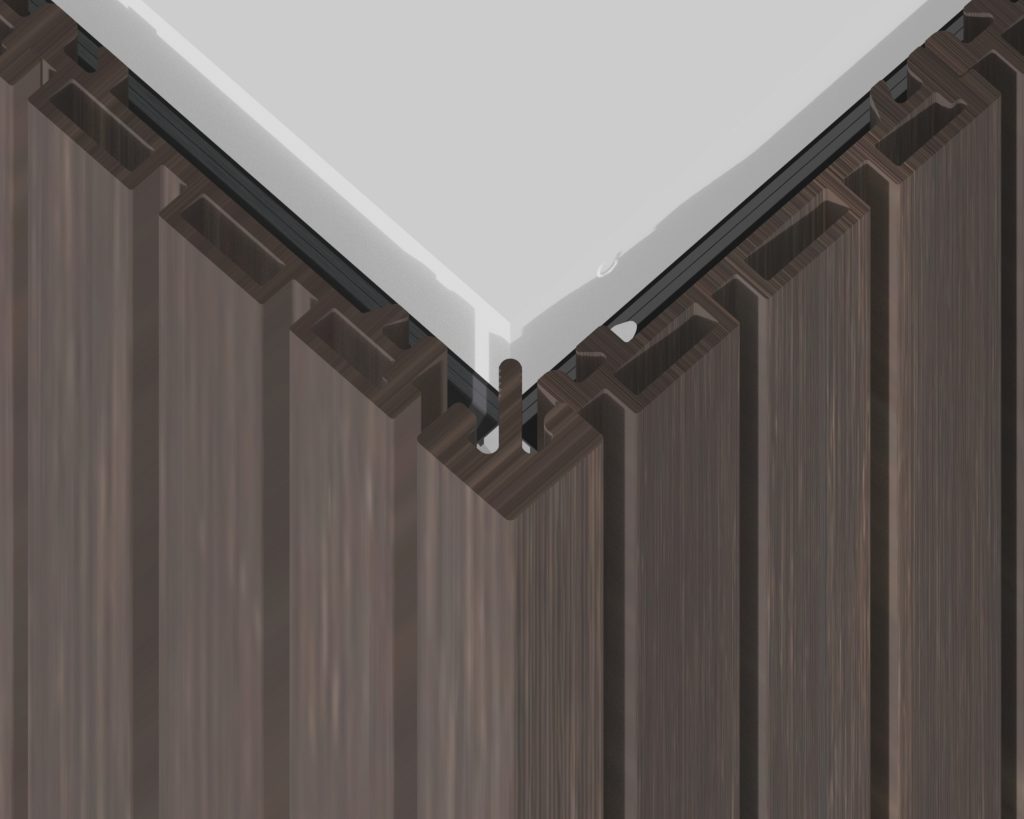
12Corners
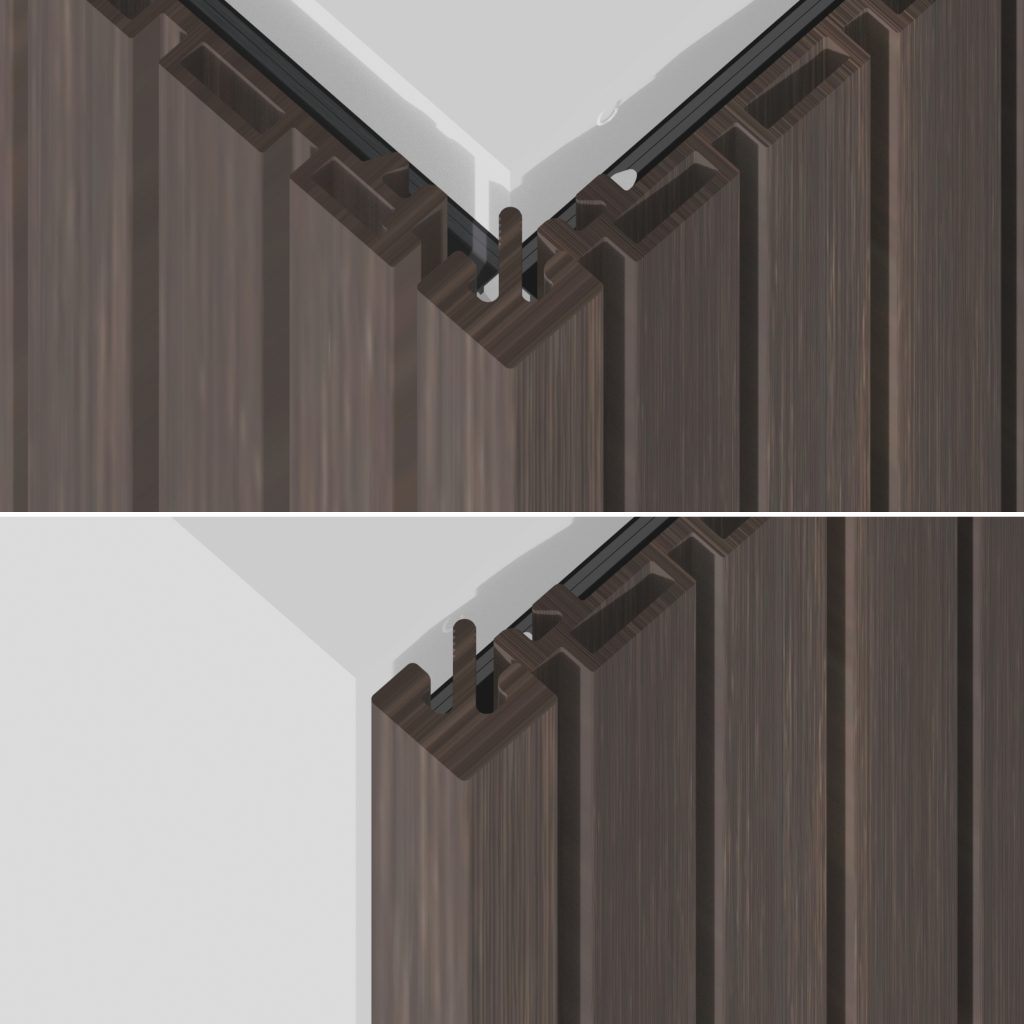
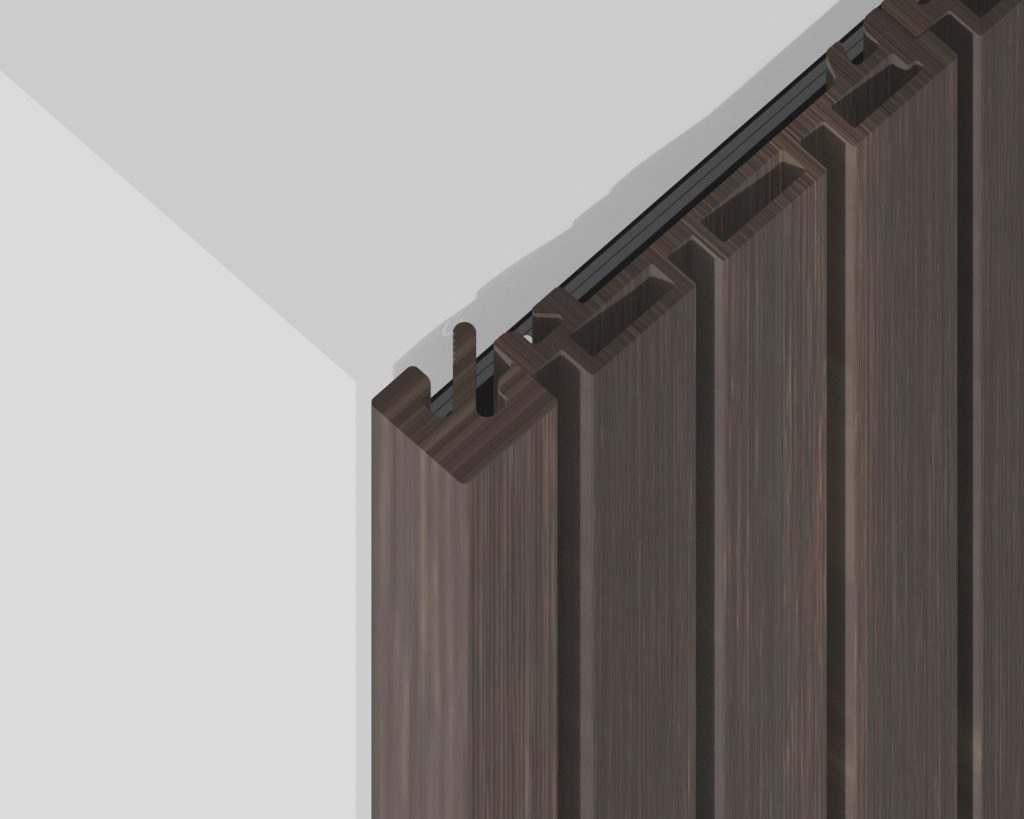
The universal profile serves outside corners and facade ends. Screw the aluminium corner trim to the rails first, click the profile over it and fix it with a short screw.
13Corner detail
Cut the trims to about 25 cm and mount them together with the rails to test that everything fits. Keep at least 3 mm of free space around corners and window frames.
14Universal end profile
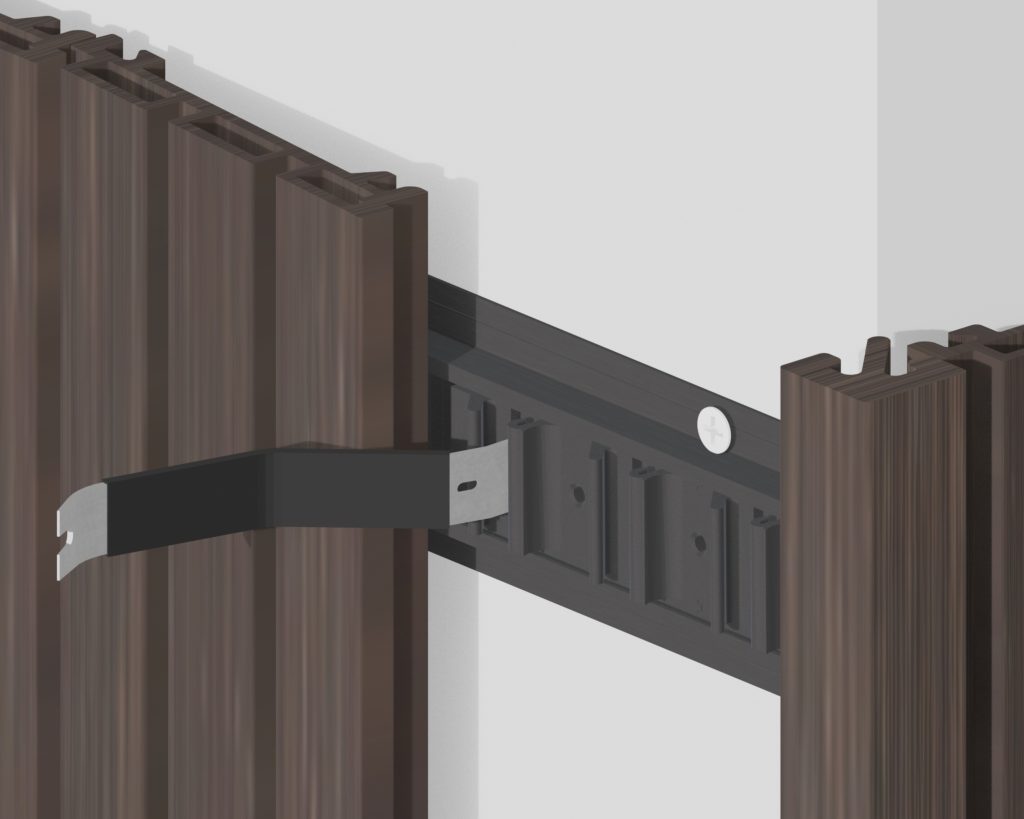
The same profile finishes the end of a facade. Click it over the aluminium trim after the last slat is on.
15Sloped gable
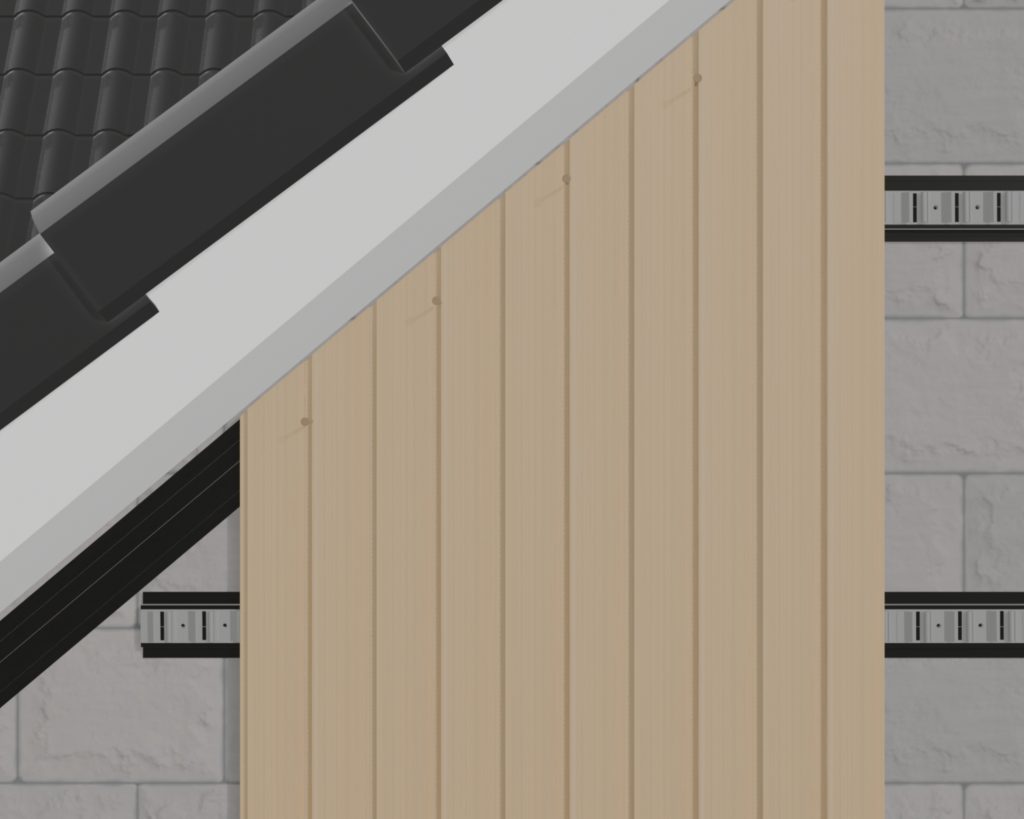
Fill the slope with empty rails without clips. Click slats on as far as possible, cut them along the roof edge and screw the cut ends to the empty rails with colour screws (one per rail, not too tight). Cover the cut ends with a roof trim.
- Installation manual (PDF, EN)Installation manual (PDF, EN): on requestPDF
- Watch the installation videoInstallation video: on requestVideo
Missing a document? Contact us.
Technical specifications
Figures per profile are on the Products page. Rows marked “on request” are confirmed on the datasheet.
| Slat material | Wood-plastic composite with co-extruded protective cap |
|---|---|
| Rail | Aluminium, 15 mm, clips pre-mounted. Horizontal rails for vertical slats; rails can also run vertical for horizontal slats (always the case with Swedish Rebate) |
| Stopper | Serrated stainless steel, prevents the slat from lowering, minimum 1 per slat |
| Slat length | 2900 mm |
| Total system build-up | 37 mm (Barcode) to 41.6 mm (Rhombus, Swedish Rebate), excluding substructure |
| Weight | On request |
| Fire class | On request |
| Thermal expansion | On request |
| Rail centres | Maximum 548 mm |
| Ground clearance | 30 to 50 mm, on a support beam of at least 30 mm |
| Mounting direction | Vertical slats standard; horizontal slats possible when every clip is screwed, rails then run vertically |
| Warranty | 15 years |
Why click beats screw mounting
| NewClick click system | Screw-mounted cladding | |
|---|---|---|
| Fasteners in view | None. Cleaner facade. | A screw head on every slat |
| Pre-drilling | Not needed | Every slat |
| Installers | One person | Two, one to hold the slat |
| Speed | About twice as fast | Standard |
| Weak spots | No holes in the slat, no water ingress points | Screw holes in every slat |
| Replacing a slat | Unclick the one slat | Unscrew a large part of the facade |
| Straightness | Rail sets the centres; tolerances do not stack | Each slat adds its own tolerance |